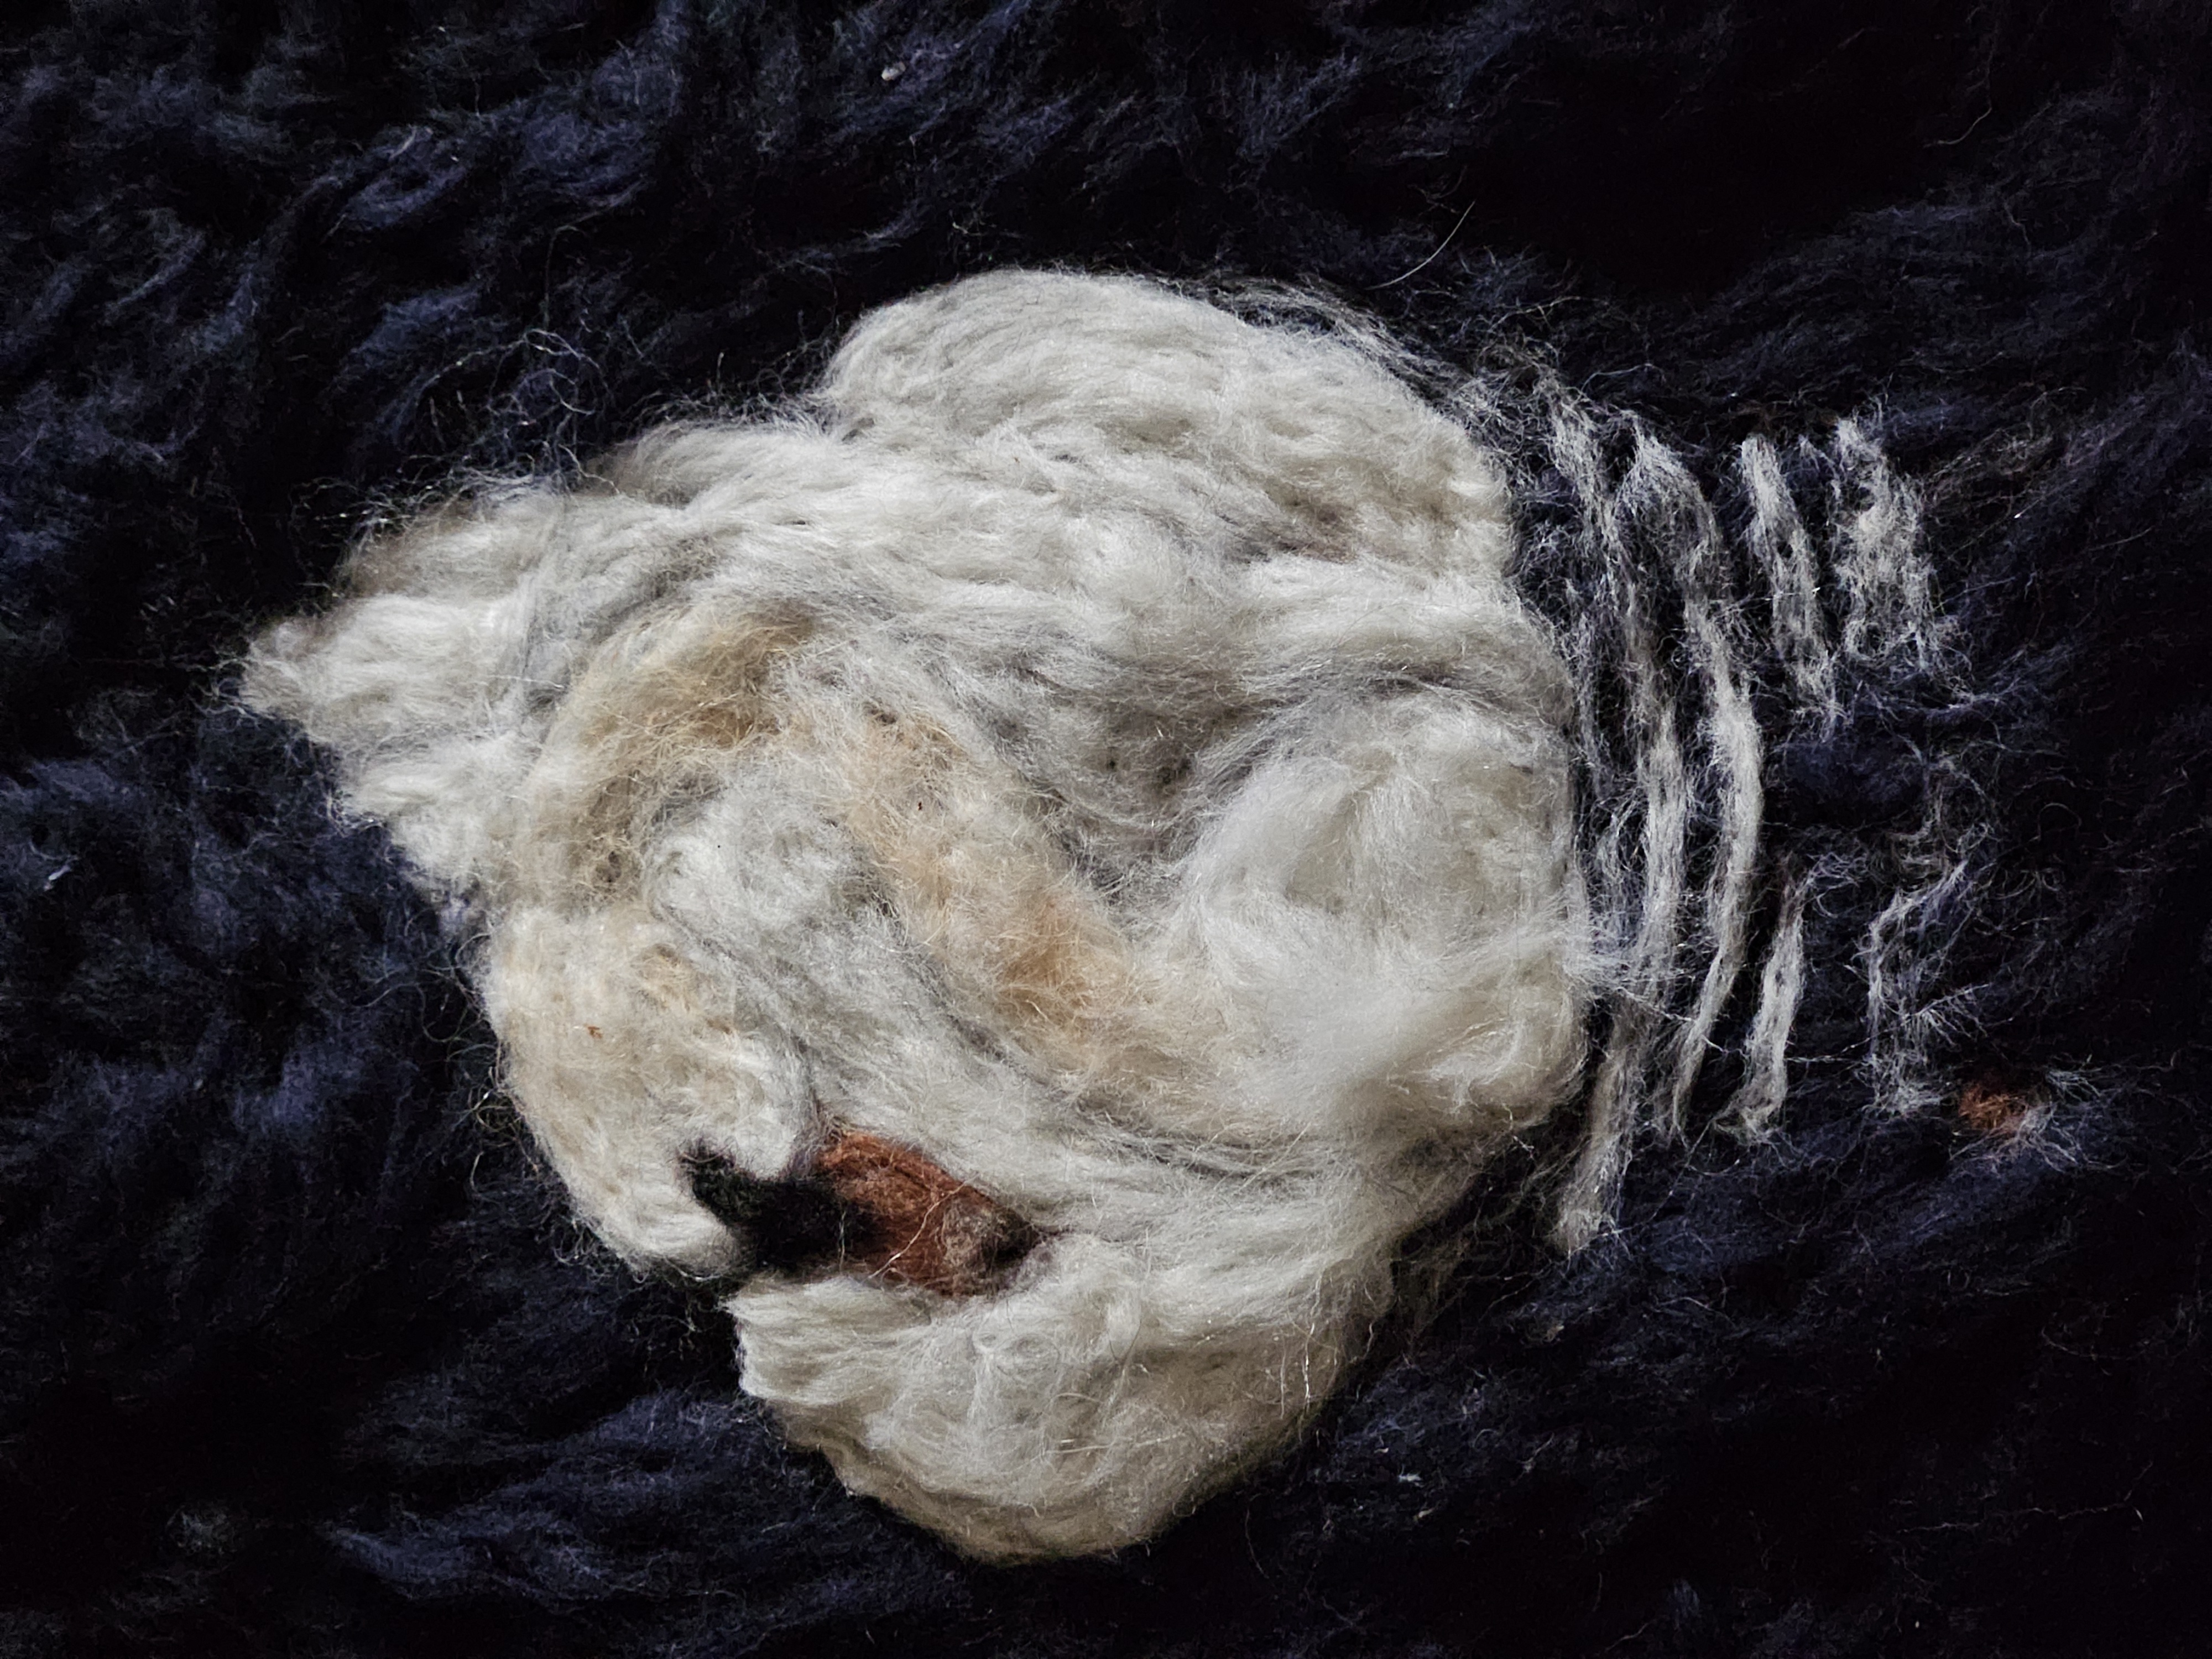
Night Swan
Needle felted the wet felted
$200.00
Creating a needle-felted backdrop for a beautiful swan is a rewarding process that combines various felting techniques to produce a stunning piece of artwork. In this guide, we'll walk through the steps involved in needle felting a background onto wash-out stabilizer, adding a swan, and finally, mounting the finished piece onto canvas stretcher bars. ### Materials Needed: 1. **Needle Felting Tools**: A needle felting needle and a foam pad. 2. **Wool Roving**: Choose colors for your background and the swan. 3. **Wash-Out Stabilizer**: This keeps your work from distorting during the felting process. 4. **Water and Soap**: For wet felting. 5. **Canvas Stretcher Bars**: To frame your finished piece. 6. **Staple Gun and Staples**: For mounting. 7. **Scissors**: For trimming excess felt and stabilizer. ### Step 1: Preparing the Background Begin by laying out your wash-out stabilizer on a flat surface. This stabilizer is crucial as it allows the wool fibers to lock together while preventing any warping or distortion in your work. Cut a piece of roving in various colors that will form the background of your artwork. Gently pull apart the wool and place it on top of the stabilizer, arranging it to create a gradient or a scene that suits your vision. Use your needle felting tool to begin working the fibers into the stabilizer. The barbed needle will catch the fibers and bond them together, creating a firm base for your project. Continue layering and felting until you achieve the desired coverage and texture. ### Step 2: Needle Felting the Swan Once the background is complete, it’s time to add the swan. Select white and black wool roving (or any other colors suitable for your design) to form the swan’s body, wings, and head. Begin by shaping the body of the swan first. Roll the white roving into an oval shape, and then use the needle to felt the sides until it holds its form. Next, create the neck by rolling a smaller piece of roving into a similar shape, tapering at one end for the head. Attach the neck to the body by needle felting it firmly in place. For the wings, shape the wool into a flat oval and felt it until it is sturdy enough to hold its shape. Repeat the same process to create another wing. Once your wings are shaped, position them on either side of the swan’s body, securing them with your needle felting tool. Add details such as the eyes and beak using contrasting colors of wool, felting them into place. ### Step 3: Wet Felting Process Now that the swan is beautifully placed on the background, it's time to wet felt the piece to lock everything in size and shape securely. Gently wet the entire surface of your work with soapy water. Avoid saturating the stabilizer too much, as you want to maintain its integrity while allowing the fibers to mesh tightly. Once the piece is moistened, you can continue to work it with your hands to felt it further while ensuring that the placement of the swan remains intact. Be careful during this process, as too much agitation could move your design. Continue to rub and shape until the fibers adhere to each other thoroughly, then rinse away the soap to reveal the final design. ### Step 4: Mounting onto Canvas Stretcher Bars After the felting is complete and the piece is dried, it's time to mount it onto canvas stretcher bars. Trim any excess stabilizer carefully, ensuring that your artwork has clean edges. Start by stretching the felted piece over the stretcher bars, ensuring it is centered properly to display your swan beautifully. Once in place, use a staple gun to secure the felted art to the back of the stretcher bars. Make sure to pull the felt tight enough to avoid sagging but not so tight that you distort the design. Staple at intervals around the edges to ensure it's secured properly. Lastly, trim any additional stabilizer as necessary to ensure a clean look. ### Conclusion This needle felting project not only results in a visually stunning piece of art but also offers a fulfilling creative experience. With the process of creating a swan set against a uniquely designed background, this piece is ready to be displayed or gifted. Whether you are a seasoned felter or just beginning, this process highlights the beauty of wool and the art of felting. Enjoy your crafting journey and watch as your artistic vision comes to life with every stab of the needle!
Discover the magic of felt art with our unique collection. Each piece is crafted using wet felting techniques and needle felting, transforming wool roving into stunning artworks. Specializing in painting with wool, our creations reflect rich textures and vibrant colors that will enhance any space. Perfect for collectors and art enthusiasts, these creations are not just decor but a celebration of the art of felting.
Mailing to the Continental United States