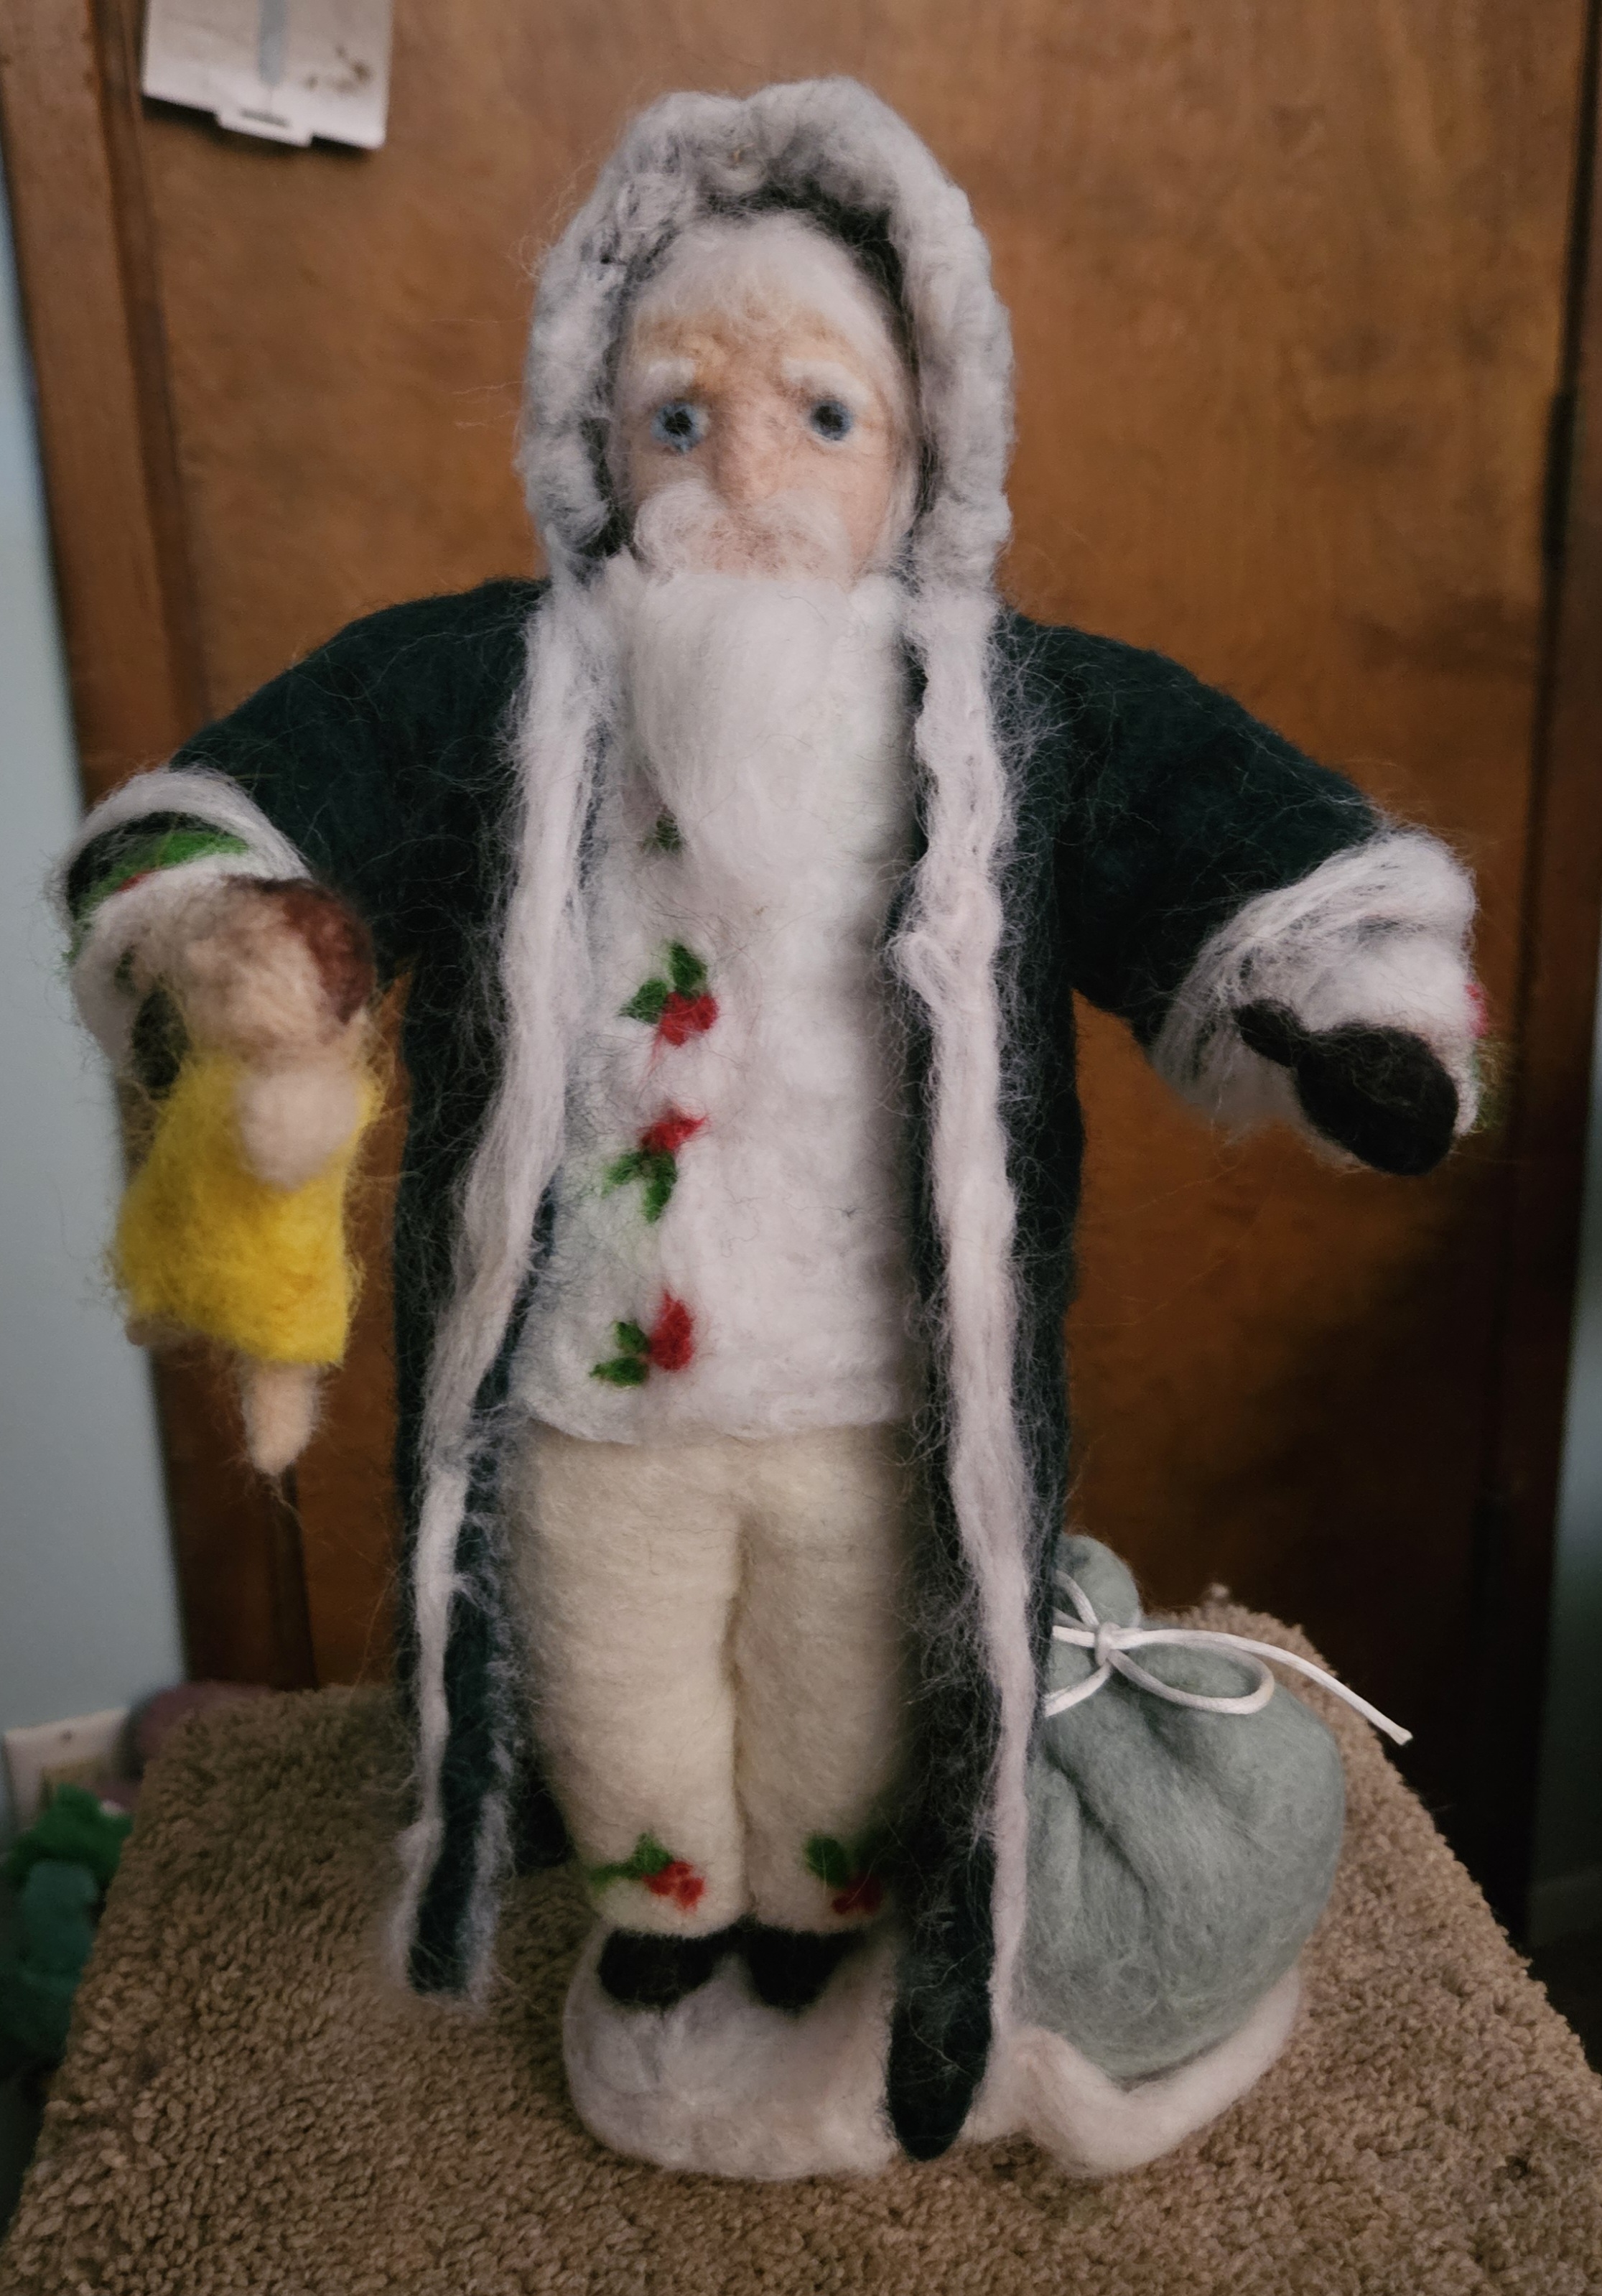
Saint Nicholas
Needle felted statue
$150.00
Creating a needle felted Saint Nicholas with a weighted base is a delightful project that combines artistry with the spirit of the holiday season. This charming figure not only captures the essence of the traditional Saint Nicholas but also serves as a beautiful decoration or a unique gift. Below, we’ll explore the materials needed, the step-by-step process of crafting the needle felted Saint Nicholas, and tips to ensure your creation is both sturdy and enchanting. ### Materials Needed: 1. **Wool Roving:** Choose high-quality wool in red for the robe, white for the beard and trim, skin tone for the face, and black or brown for the shoes. 2. **Needles for Felting:** A set of felting needles, ideally with different sizes, to help you shape and define your figure. 3. **Felting Mat:** A firm surface where you can safely needle felt without damaging your needles. 4. **Weighted Base:** You can use materials like small pebbles, sand, or beads to create a sturdy base, along with a piece of felt or an oval wooden base to attach the figure securely. 5. **Wire Armature (Optional):** For added stability in larger figures, creating a wire frame can be beneficial. 6. **Embroidery Thread or Fabric Paint:** To add details like eyes, embellishments to the robe, or any additional decorations. 7. **Glue (Optional):** For securing certain elements that may need extra attachment. ### Step-by-Step Process: #### Step 1: Create the Weighted Base Begin by preparing your weighted base. If you are using pebbles or sand, place them inside a small fabric pouch or a sturdy container. This will ensure that your Saint Nicholas stands upright. Attach this pouch to a piece of felt or a wooden base with hot glue or by stitching, ensuring it is secure. #### Step 2: Form the Core Shape Using wool roving, begin by creating the core shape of Saint Nicholas. Start by rolling the wool into a rough oval shape for the head and a larger cone shape for the body. The base should be large enough to fit onto your weighted base but trim enough to maintain a sleek silhouette. #### Step 3: Needle Felting the Figure Place the formed shapes onto your felting mat. Begin poking the surface of the wool with your felting needle. This will compact the wool fibers together, giving it a denser and more defined shape. Start with the body shape; work your way from the bottom up, ensuring to create a smooth surface. Once the main body is solidified, repeat the process for the head. Pay special attention to details as you work; the face will require a bit more shaping to create the round cheeks and chin of Saint Nicholas. #### Step 4: Adding Facial Features Use small amounts of wool roving in black and white to create the eyes. You may also want to use a small piece of skin-toned wool to give the face dimension. Craft a small ball for the nose, and attach all these features securely by felting them in place. For the beard and hair, use the white wool, fluff it out, and needle felt it directly to the head, cascading it down the front to give a realistic appearance. #### Step 5: Creating the Robe For Saint Nicholas’ robe, take the red wool and begin felting it into a robe shape around the body. This will involve creating sleeves and a collar. Ensure the robe is long enough to cover most of the weighted base while still allowing space for the legs or additional decoration. Use the white wool to create the trim along the edges of the robe. This can be a simple felted band or fluffy tufts to add texture and charm. #### Step 6: Final Accessories Craft a bag for Saint Nicholas. This can be made from brown felting wool, shaped into a pouch with a drawstring top. Fill it with small felted toys or gifts to enhance the magical appearance. Consider adding other small accessories or decorations, such as a staff or a star, to amplify the festive look of your Saint Nicholas figure. #### Step 7: Secure Everything Once all components are formed and felted, carefully attach them together with more needle felting or glue where necessary. Make sure the figure feels stable on the weighted base, adjusting any parts as needed to maintain balance. ### Displaying Your Creation Once completed, your needle felted Saint Nicholas can be a beautiful centerpiece on a holiday table, a charming mantle decoration, or a gift for someone special. Consider placing him next to other festive decorations such as a Christmas tree or candles to create a whimsical holiday scene. ### Care Instructions Needle felted figures are delicate, so it is important to take care when displaying your Saint Nicholas. Avoid placing him in direct sunlight to prevent fading, and dust gently with a soft brush to keep him looking pristine. Should any of the wool fibers become loose, use your felting needle to reattach them carefully. ### Conclusion Crafting a needle felted Saint Nicholas with a weighted base is a rewarding and creative way to celebrate the holiday spirit. The unique charm of handmade decor adds a personal touch to your festivities, making this project perfect for crafters of all skill levels. Enjoy the process of felting, and may your Saint Nicholas bring joy and warmth to your home during the holiday season.
Mailing to the Continental United States